This tutorial will help you to install swift programming language on your Ubuntu 18.04 LTS Bionic Linux system.
Step 1 – Prerequisites
Login to your Ubuntu 18.04 system using SSH (Shell) access. Now install the required dependencies for swift installation on your system. For the new Ubuntu 18.04 installation, I also needed to install following packages to work swift properly.
Step 2 – Install Swift Ubuntu 18.04
Now, you need to download the latest available swift release from its official site. You can use below command to download Swift 4.2.1 on the Ubuntu 18.04 Bionic system. Then extract the downloaded archive Also, configure the swift binary to system’s PATH environment variable.
Step 3 – Verify Swift Version
Use the following command to check the current installed Swift version on your system.
Step 4 – Swift REPL Examples
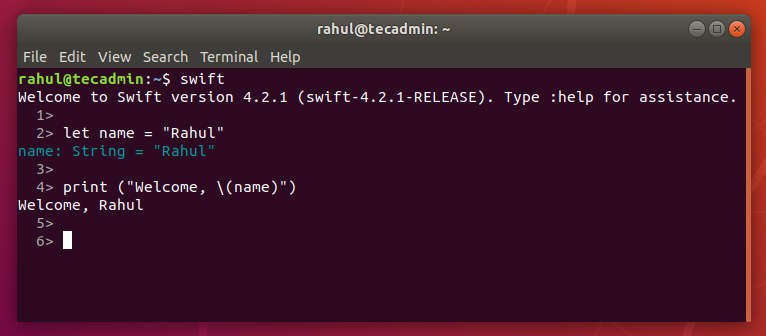
Just type swift on your system console and you will get Swift console. You can use this console for quick operations and for the learning purpose. Now, run some sample commands to test the console running properly.
